|
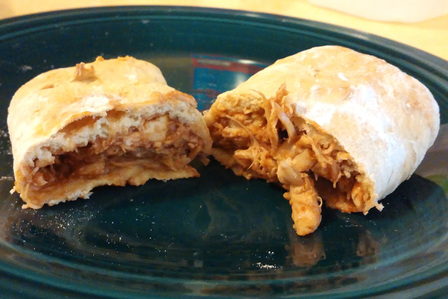
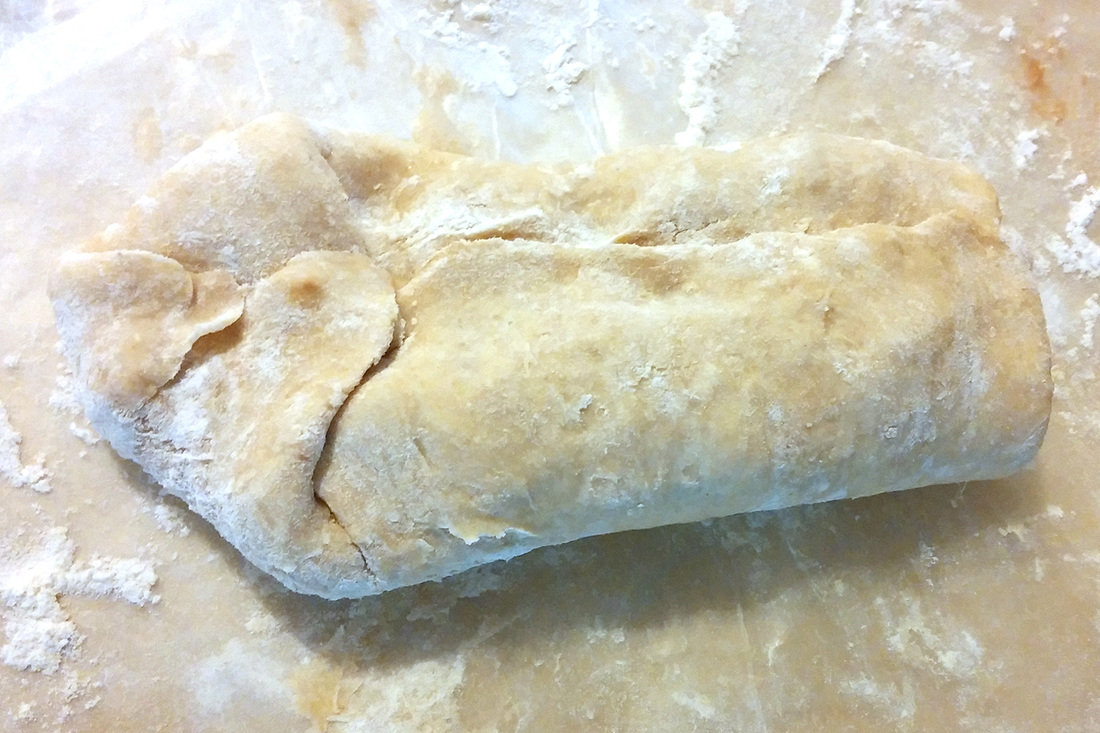
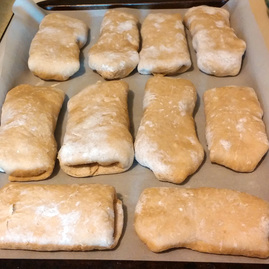
I've always enjoyed Hot Pockets, but with all the additives and high salt content, I started looking for a way to make them myself a few years ago. I found this recipe, gave it a try, and have made them many times since. The recipe is easy to adapt to include any fillings you want to use. This morning, I made some barbecue shredded chicken sandwiches for my husband. I've also made ham and cheese for myself. One of these times, I want to try bacon, egg, and cheese for breakfast sandwiches. I have no doubt that cheese and pepperoni would be great as well. Yum! To make ten sandwiches, I baked a whole chicken, removed the meat from the bones, and stirred in the barbecue sauce. I filled the sandwiches as full as I could and we didn't have any filling left. Here's the recipe I used after making some adaptations. Recipe and Directions: 3 cups flour (I used 1 cup wheat, 2 cups unbleached) 1/4 cup dry milk 1/4 cup sugar (I used raw) 2 1/2 tbsp yeast 1 cup warm water I put the warm water in a bowl, poured in the sugar, and stirred until dissolved. Then I added the yeast, allowing it to sit for two or three minutes. Meanwhile, I combined the flour and dry milk in another bowl just to have something to do while I waited. LOL Next, you'll want to add the dry mixture to the wet. Hand knead it well. I've always had to add an extra splash of water to this dough in order to get it mixed completely. This is a thick, sticky dough. 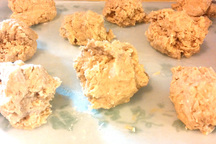 Small Confession: You know how there are some types of dough that are a joy to work with? Yeah, this isn't one of those. I'm not going to lie - it's a real pain. But trust me, it's worth it for the sandwiches. That said, I highly recommend having the filings prepared to make a double batch since you're going through the effort anyway. Back to the Directions: Divide the dough into 10 equal portions and place them on waxed paper. I then recommend covering them with a towel or something similar so they don't dry out as you roll out each one. At this point, put some parchment paper on your baking sheets or make sure you've greased them well. I roll the dough out on a piece of wax paper. You'll want to liberally sprinkle flour on the wax paper before placing each ball of dough there. I found I needed a new piece of the paper every third ball or so (or, you can get a bigger one and then fold it over to make it last longer). 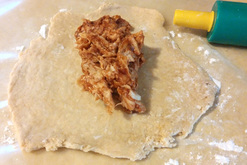 Filling the Sandwiches: Use a rolling pin to roll each ball into a triangle. Or as close to a triangle as you can. Mine tend to look a lot more like an oval. But hey, it works! If you notice the picture here, I use a Play-Doh rolling pin. I have tried many different ones in the past and this one has always worked best for me, so I confiscated it from the kids a while ago. One of the handles broke, so I should probably try and locate another. LOL Put enough filling to cover about a third of the flattened dough. Honestly, you'll just have to play with it a time or two until you see how much you'll need. And it can differ depending on what you're using for filling. Fold an end over the filling. Bring the sides to the center and overlap, pushing or pinching gently to join them. Finally, fold the last end over to seal the filling inside. Place seam down on your cookie sheet. Bake in a preheated 350'F oven for 15-20 minutes until lightly brown. These sandwiches freeze wonderfully. We've warmed them up in the oven as well as the microwave with great results. I hope you'll give the recipe a try!
0 Comments
Leave a Reply. |
ACFW Member
Archives
July 2023
Categories
All
|



 RSS Feed